


When you erase a file on a Mac, it is not necessarily the end. Nowadays, macOS users have a number of methods to recover their deleted data. Even if you deleted your files from your Mac Trash Bin, you still have some options. You can use either built-in macOS features for data recovery, or you can use a data recovery solution – it is up to you.
In this blog post, we aim to provide a brief yet comprehensive review of data recovery options on macOS. Keep reading to learn how to recover deleted files on a Mac in no time!
How to Restore Deleted Files on Mac Using 5 Different Options
We’ve collected a list of effective data recovery methods macOS users can implement. First, let’s start with simple built-in macOS features and work our way up to more advanced options and third-party software solutions.
Option 1: Put Back the Files from Trash
Certain data loss situations have straightforward solutions to resolve your problem. The files you delete from your Mac don’t just disappear from your HDD. This data is automatically transferred to the Trash folder, where users can easily restore it to its original location with ease. Such an algorithm for file removal protects users from deleting critical files by chance.
How to restore deleted files on a Mac from the Trash bin:
- Let’s navigate to the Dock panel at the bottom of your Mac screen and look for the Trash bin icon.
- Search through the Trash folder to locate the files which you have deleted.
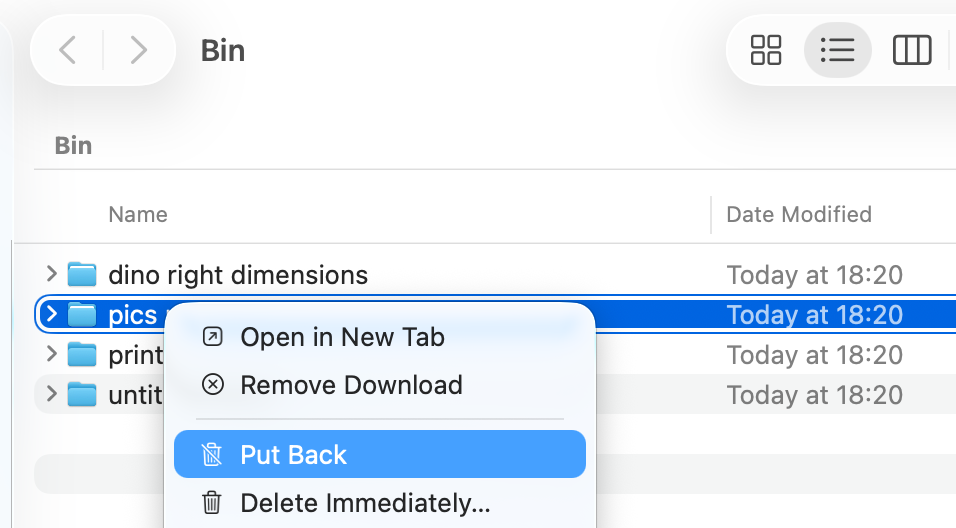
Your Mac system will only empty the Trash based on your personal configuration. The automatic Trash emptying feature requires immediate action to restore deleted files because the system deletes them after 30 days.
Option 2: Bring Back the Files Using Time Machine
The key to successful file recovery if they were removed from Trash is using a backup option (preferably more than one). Mac users can benefit from a macOS native backup app called Time Machine. Its biggest advantage is that once you set it correctly, it will automatically back up all your system data at regular intervals.
How to recover permanently deleted files on a Mac with the help of Time Machine:
- Connect your external drive with the Time Machine backup data.
- Wait for Time Machine icon when to appear in your menu bar at the top of your screen. Click it.
- When in Time Machine, look for a series of backup versions. Tip: Navigate with the Arrow button.
- Search through your system files to find the particular backup version, which contains the needed files. Selecting your desired recovery items requires a click hitting Recover.
- The items will be restored to the folder they were located in before you deleted these files.
Option 3: Undelete Files with Terminal
Mac users who possess command line interface skills can try to recover deleted files through the macOS Terminal interface. Though the command line interface might feel too challenging for some users, these tools may offer a set of benefits, such as faster data recovery or the ability to access files hidden in the Finder.
You can use Terminal to recover files which were moved to Trash to bring back the items you permanently deleted with the rm command in Terminal. Below, we’ll describe the steps to take in the later scenario.
Here’s how to recover files deleted with the rm command in Terminal:
- Let’s open the Terminal utility via Spotlight. You can also go through Finder > Applications > Utilities > Terminal.
- The command line requires you to enter cd.Trash. Next, press the Enter key.

- Type mv xxx, where “xxx” stands for the name of the file you want to recover.
- Hit Enter again and wait until the command is executed.
- Close the Terminal window.
- Go back to Finder to verify if the file is safely restored. Pro tip: Use the search bar at the top-right corner of the Finder window to make the process run smooth.
Option 4: Restore Lost Files from Recently Deleted (Use Your iCloud Account)
Another common backup option many Mac fans are familiar with is iCloud storage. If you sync your Mac with an iCloud account, you can create extra copies of essential data stored on your machine. The iCloud recovery process is very simple. This is one reason that iCloud is one of the popular cloud backup solutions.
- Navigate to your default web browser, and log in to your iCloud.
- Complete the necessary steps for email and password input or two-step verification when the prompts appear.
- Go to the Data Recovery tab (right at the bottom) > click Restore Files.
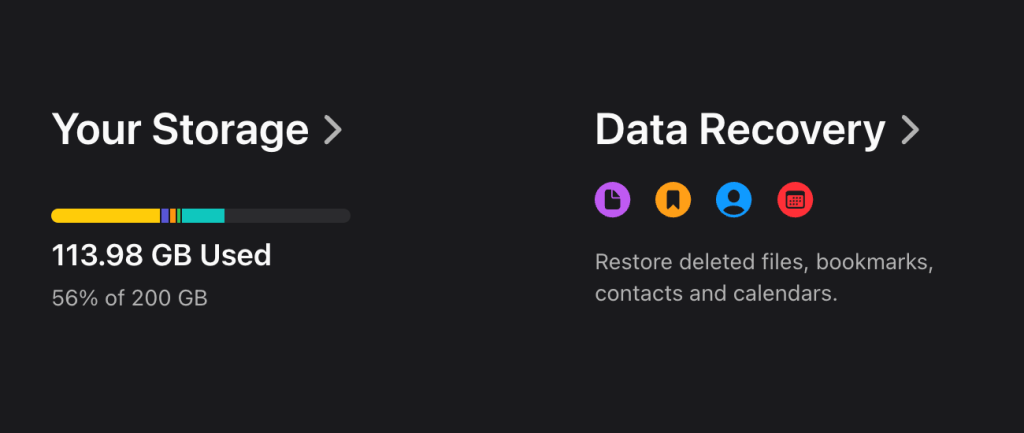
- Select Recover All or select specific items and select Recover.
Option 5: Run Data Recovery Software
For some users, dealing with setting up Time Machine backups or the complexity of Terminal command lines can be too overwhelming. In such cases, or when previous options didn’t bring the desired outcome, it makes sense to look into data recovery software options. They have many benefits to offer and simplify the data recovery procedure.
Third-party data recovery tools typically offer:
- User-friendly interface
- Deep scans to access files not listed in the file directory or metadata structures
- The option of previewing the files before choosing the right ones to restore
- Data recovery from internal and external drives
- A range of file formats they can recover
- Disk cloning
Most data recovery software work in the same way: you install them, run a scan, preview the files, choose the ones you want to recover, and then restore them to their locations.
Prevent Accidentally Losing Your Data
A set of Mac usage regulations helps minimize file loss risks for your system. The sudden loss of computer data occurs quickly, yet precautionary steps allow you to avoid permanent file deletion, which eliminates the need for restoration.
- Take good care of periodic system backups through Time Machine, iCloud, external drive or alternative solutions.
- Install reliable antivirus and antimalware software to protect your Mac from computer threats which could cause file loss.
- Keep your macOS updated at all times with regular installations of available software updates because this practice helps prevent software-related crashes and ensures the system functions at its best.
- Check the health of your HDD, and replace it when you have a reasonable number of disk issues.
- Do not run Terminal commands or use any file cleaning software without knowing what files are going to be cleaned or removed.
Mac Undelete: Final Thoughts
Accidental file deletion on a Mac can be reversed if you act upon it as fast as possible. Having regular system backups also increases your chances of success. You can choose from several built-in data recovery options on Mac (depending on what caused data loss and whether you run backups) or try using third-party software tools. If none of the above turn effective, consider contacting professional service centers.