


Accidental data erasure is more common than many Mac users tend to believe. Considering how likely it is to swipe needed files away by accidentally clicking a button, macOS doesn’t automatically delete the files the moment you hit “Delete”. These files get transferred to the Trash instead. But what if you cleared the Trash folder? Is there a way to reverse these changes?
Let’s explore the possible solutions on how to recover the emptied Trash on a Mac with and without specialized software.
5 Working Ways to Recover Trash Data on Mac
If you find files that were deleted from the Trash, it’s essential that you don’t waste time. The earlier you begin to recover your deleted files, the better chance you have of success. Mac computers, especially older systems with traditional hard drives, have often retained the deleted data until you overwrite it with new data.
Important: Stop using your Mac immediately when the Trash has been cleared to maximize the chances of successful data recovery!
1. How to Recover Trash on Mac with Time Machine
Although Time Machine does not provide a backup for the Trash folder specifically, it will assist you in restoring the deleted data just the same. It saves files that are saved on your Mac regularly in intervals, along with the external drive. In summary, you can use these Time Machine backups to restore the data that you are seeking.
- Connect your external drive containing the Time Machine backup to the Mac.
- You can access Time Machine by selecting the Time Machine icon located at the top- right corner of the desktop screen and selecting browse Time Machine Backup.
- You can navigate the timeline for the files you want to restore.
- You can recover the files you selected (click Restore) from Time Machine.
What is great about using this process is that Time Machine will let you not only retrieve the deleted files, but it also will let you choose which version of the file to restore. For instance, let’s say that you made some changes to a document, and you accidentally deleted from the Trash, with Time Machine you can restore from the previous backup of the file you wanted, with or without the change.
2. Recover Trash Data on Mac from Local Snapshots
Like before, you can restore particular files using the Local snapshots on your internal hard drive. You can find the Local Snapshots folder in Terminal. After locating it, attempt the data recovery immediately, as you cannot use these snapshots for long, so you will want to try this method quickly.
- Use Spotlight Search to open Terminal.
- Type tmutil listlocalsnapshots and hit Enter to run the command.
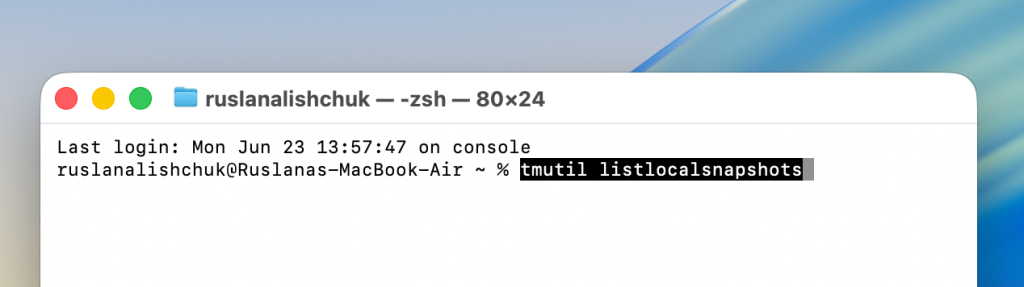
- Open Time Machine (without the external drive connected), and navigate the timeline to find the date that contains the files you want to restore.
- Select the files and hit Restore.
3. Restore from Trash (Undo Empty Trash on Mac)
It is a neat solution that doesn’t take much effort if you act quickly. You can reverse a recent revision by using the key combination (Command + Z) or via the Edit function. Just remember that there is a limit to how many things you can undo in macOS using this function.
- Once you have deleted the item (or multiple items) from your Mac’s Trash bin,hit Command + Z.
- Besides, you can alsoclick Edit and click Undo from the drop-down menu.

- The items you deleted should appear back in the Trash listing.
Tip: You can enable automatic deletion of trash data after 30 days, eliminating the need for manual emptying of the trash and reducing the risk of accidental deletion.
4. Use Cloud Backups to Retrieve Lost Data
If you use cloud backup services, getting back accidentally deleted files on your Mac should be pretty straightforward. A lot of people go with iCloud, since it works well across different devices and can store backups from all the gadgets you use. This method will work only for users who switched ON iCloud backups.
- First, log in to your iCloud account: go to iCloud.com and sign in with your credentials.
- Once you log in, you’ll be redirected to your personal account, where you must find the Data Recovery section (at the bottom of the page).
- Choose Restore Files. Let the scan run. Next, go through the files stored on your cloud and find those you want to recover.
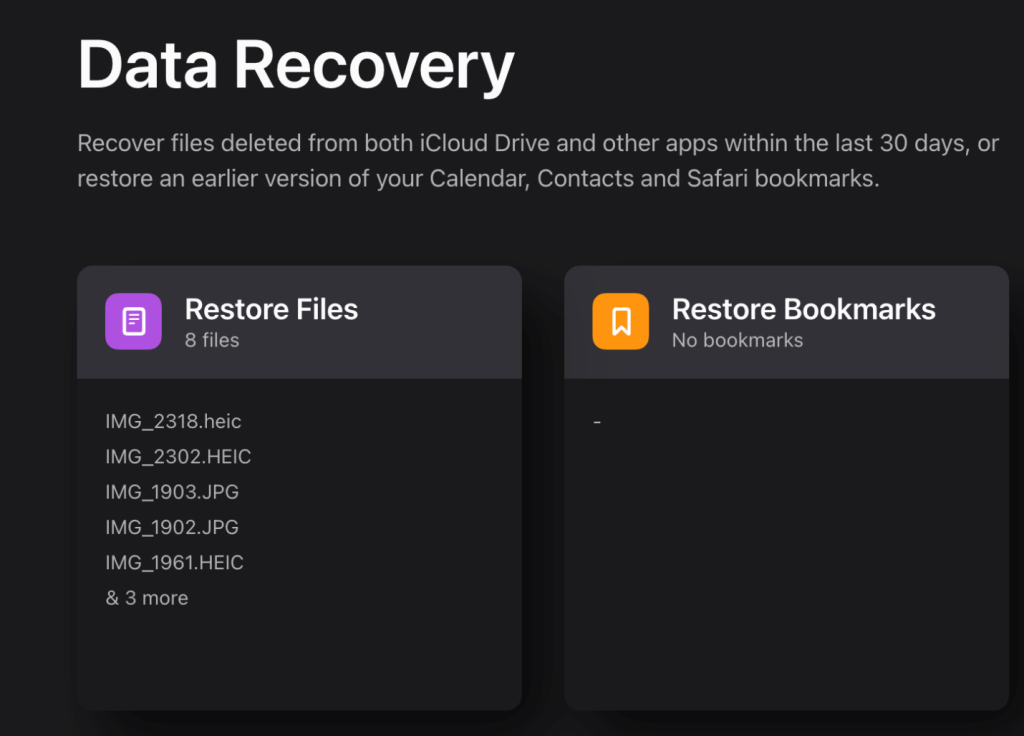
- Click on the file name to select it and hit Recover (the file will be automatically restored at its original location on your device).
5. Recover the Files with Data Recovery Software
If all else fails, you can also try using specialized software to attempt to recover permanently deleted files from your Mac. The software is created to perform deep scans of your system, using specialized algorithms to help access the deleted files, including permanently deleted files. It is important to use this software as soon as you can, before the HDD overwrites the data.
There are many different data recovery apps available, but to avoid file corruption and malware, we do not recommend using apps from unofficial sources.
A typical algorithm for using data recovery software is:
- Download and install the software.
- Select the drivewhere the data was stored andrun the scan to locate recoverable files.
- Preview the found files and folders, select what you want to recover.
- Recover your files.
Expert Tips on Accidental Data Loss Prevention
If there is a good chance to retrieve files from an accidentally emptied Trash bin, there is a chance not to lose your data completely. For this reason, it’s always best to prevent accidental data deletion rather than deal with the consequences. We have compiled some helpful tips on keeping your data protected.
- Always have a backup of your data: As the recovery tutelage in this chapter, having a backup of the data is the trick to quick and efficient data recoveries. You can use macOS backup options like OneDrive, Time Machine, cloud-based services, and local back up storage.
- Double-check what files you remove: You should always confirm whatever data you are planning to delete before you press Delete. That way, you will know you are not removing the files you need or that are essential.
- Never trust unknown third-party software: A malware infection can lead to deleting files and folders from the system. In order to combat this type of scenario, minimize your chances of this happening by using only verified software tools and utilizing quality antivirus protection.
Bottom Line
Depending on the options available, the files deleted from the Trash could be recovered with built-in macOS utilities: Time Machine, Local Snapshots, or even cloud backup, if any. Some users prefer using software tools for data recovery, but only reliable apps can be safe and bring the desired result. The key to success in data recovery is to have backups and not postpone restoring the files.