


Disk Utility is a great built-in macOS tool that allows users to perform various disk-managing operations. Many Mac owners rely on the Disk Utility’s First Aid feature to fix disk errors and minor bugs before they become serious problems. However, occasionally, First Aid fails to troubleshoot the drive, and you end up with the message “macOS can’t repair the disk”.
We’ll explore the reasons behind the error message and how you can fix the disk problems even when Disk Utility fails to help.
Why Does the “macOS Can’t Repair the Disk” Error Appear?
The reasons why First Aid fails to repair the disk problems can fall into three broad categories: software issues, hardware damage, and severe file system corruption.
| Software Issues | Your drive may encounter “soft bad sectors” due to software failures or be subjected to a malware attack that impacts low-level disk structures. As a result, First Aid fails to run the disk repair process properly. |
| Hardware Issues | First Aid is a software tool that cannot fix hardware damage, including bad sectors, faulty cable connections, or other issues preventing a proper connection between your Mac and the drive. |
| File System Corruption | This category includes file corruption due to sudden power loss, drive failure, or infected software. Improper disk format can also impact the smoothness of the First Aid repair process. |
5 Fixes to the “macOS Can’t Repair the Disk” Error
Before we move on to troubleshooting issues with disk repair on Mac, we want to emphasize the importance of backing up your data on the drive. Some of the fixes we offer involve steps that could cause data loss, or you may need to replace the disk altogether. So, start the fixing process by backing up all files you fear losing.
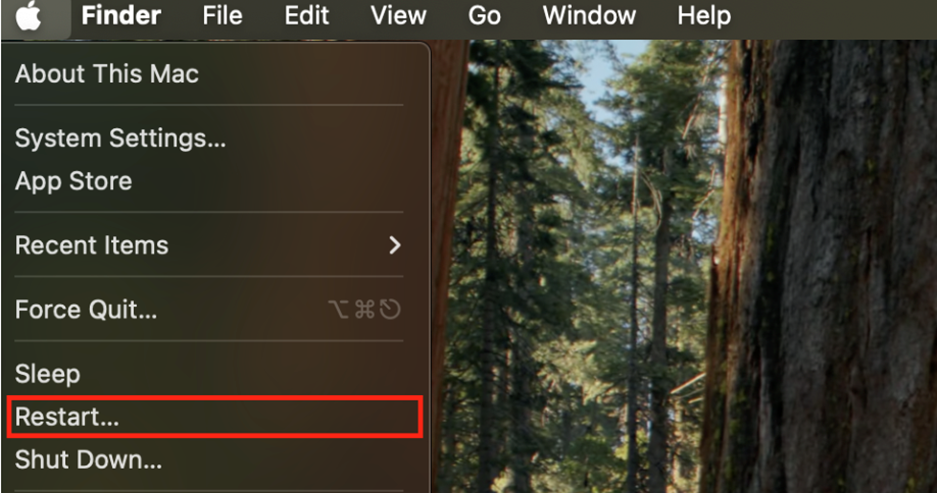
1. Restart the Mac and Reconnect the Drive
As simple as it sounds, this solution might be an effective way to get rid of the “macOS can’t repair the disk” error. Sometimes, technical issues can appear due to minor bugs or system glitches, which you can fix with a simple reboot of the device. Additionally, it always makes sense to reconnect the external drive or use another USB port to minimize the chance of connectivity issues.
2. Run Disk Utility’s First Aid on Another Mac
In some cases, the Mac you use can be the root of the problem.
Some of the Mac-related reasons for the error are:
- Faulty USB ports that are physically damaged.
- Your drive is incompatible with your Mac due to the wrong format or macOS version.
- The system is corrupted and fails to execute First Aid properly.
If First Aid fails to repair the drive after restarting, try using another device and repeat the procedure. You can access Disk Utility either through Finder (Finder > Applications > Utilities > Disk Utility) or use Spotlight Search to bring up the feature.
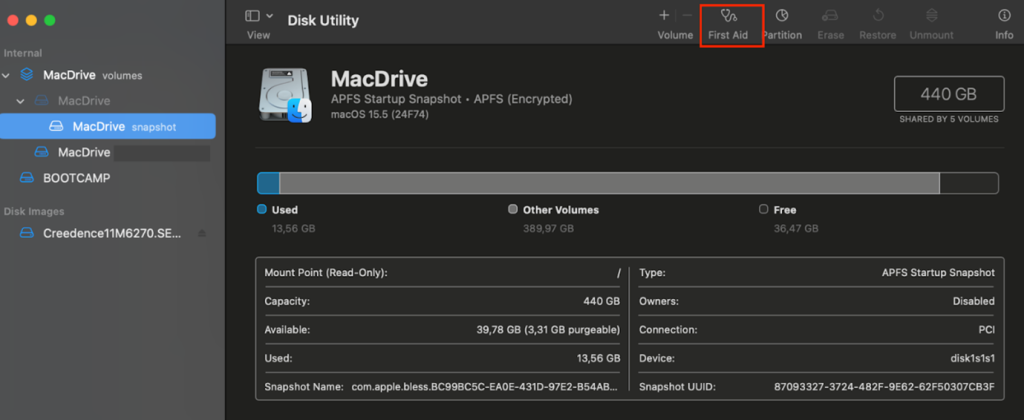
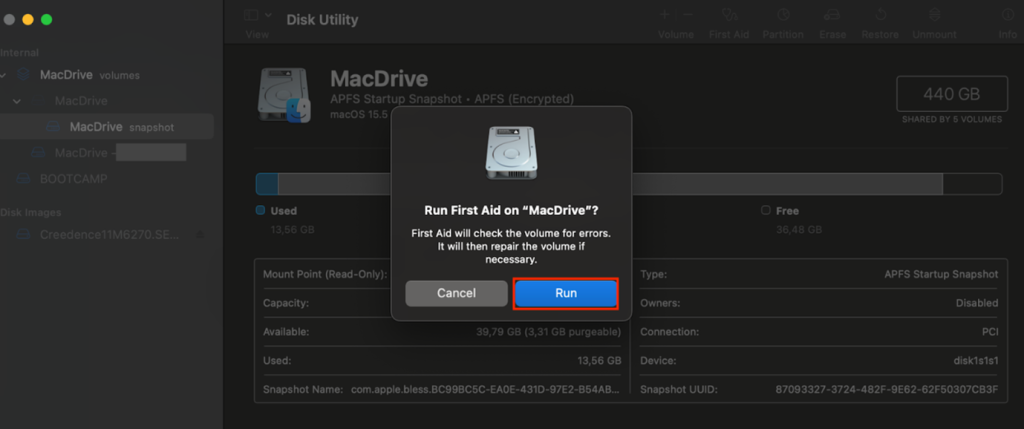
To run First Aid in Disk Utility:
- Select the drive or external disk you want to scan.
- Hit the First Aid button at the top-right corner of the Disk Utility Menu.
- Confirm running First Aid by clicking Run in the newly appeared window.
3. Run FSCK Command in Terminal
The next step is to fix the disk using Terminal commands. The method may seem tedious, but as long as you follow it, it’s fast and often effective. The key element of this solution is to work with Terminal in single-user mode to load only essential parts of the system.
The way to enter single-user mode depends on your Mac model and the installed processor type.
| Apple Silicon Macs | 1. Shut down the Mac. 2. Press the Power Button and keep holding it until you see the Apple logo (or a spinning globe). 3. Go to Utilities > Terminal. |
| T2 Chips Macs | 1. Shut down the Mac. 2. Turn it back on. 3. Immediately press and hold the key combination Command + R. 4. Wait until the Apple logo (or a spinning globe) appears. 5. Go to Utilities > Terminal. |
| Intel-based Macs | 1. Shut down the Mac. 2. Turn it back on. 3. Hold the key combination Command + S. 4. Wait until you see a command line. |
Once you open Terminal, proceed with the following steps:
- In the command line, type the command: diskutil list.
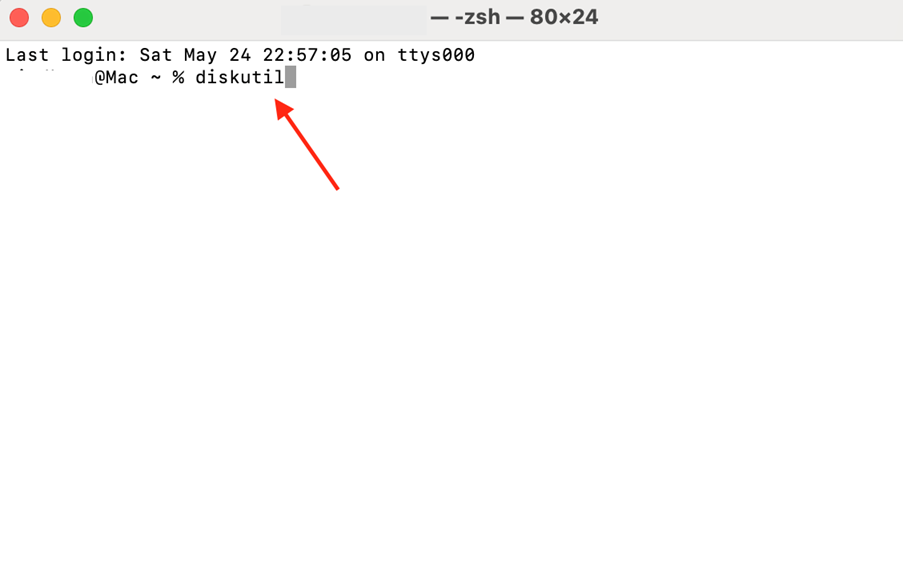
- Identify the drive you want to fix and put down its name.
- Type the command; sudo fsck – fy /dev/diskN where N stands for the disk’s identifier, for example disk2.
- Execute the command.
4. Reformat the Drive via Disk Utility
If the solutions mentioned earlier don’t help, you can try formatting the drive. The good news is that it will likely remove any bad sectors from usage and fix the issue. However, the reformatting process also includes erasing all the data stored on the device, so we don’t recommend proceeding with this step unless you back up important files.
To format your drive:
- Open Disk Utility through the Utilities folder in Finder.
- Click on the drive you want to format and then on Erase.
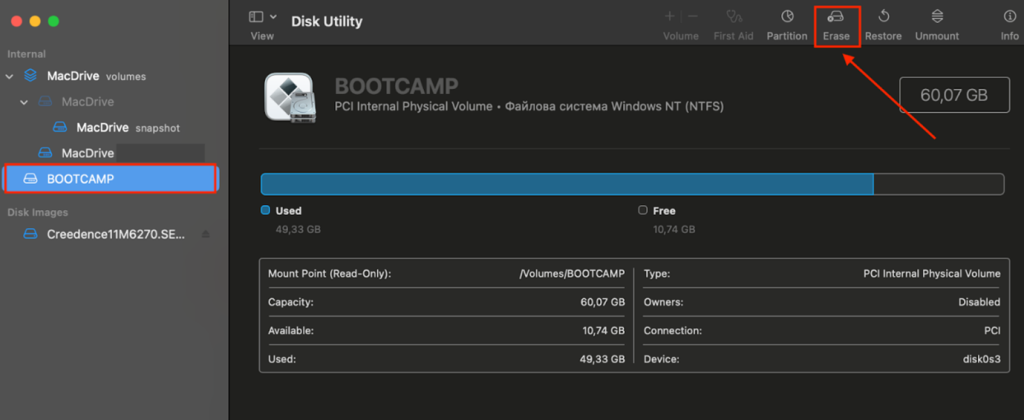
- Insert the drive name you will use in future.
- Choose the appropriate system file format.
- Confirm erasing the disk.

This process will remove all the data stored on the drive and set up the chosen format.
5. Seek Professional Help
Finally, you can contact professional drive repair centers, especially if you suspect physical damage to the drive. They can try to fix your disk using advanced repair tools you can’t run yourself. Additionally, they can help you safely back up your files to prevent permanent data loss.
Conclusion
macOS can’t repair the disk for various reasons, including hardware damage and software-related issues. Depending on the cause, you can fix the problem by restarting the Mac, trying to run First Aid on another device, or using more advanced repair options in Terminal. If you suspect your drive is damaged on the hardware level, consider contacting professional service centers for further assistance.