


We can’t emphasize enough how critical regular data backups are. Accidental data loss is more common than many users believe. Whether we talk about a system failure, unintentional manual file deletion or hardware problems, the result can be disastrous – all valuable information is gone from your device.
Mac users are in a better position than those working with other operating systems since macOS offers a built-in backup tool called Time Machine.
Let’s break down how to use Time Machine correctly to keep your system data safe.
How Does Mac Time Machine Work?
Let’s start by answering the question: What is Time Machine on Mac? It is a native Apple software that creates automatic backups of everything you store on your Mac. To set up these regular backups, connect a separate storage device and choose how often you would like to create snapshots of your system.
Most users rely on Time Machine Backups because the process is automatic and requires only the initial setup. Once you implement Time Machine, it will start creating hourly, daily, and weekly copies of your system and store them in case you need to check previous data versions. In addition, Time Machine manages older backups by removing them once the disk fills up.
It may seem like a lot of data copying, but Apple devised a way to make Time Machine Backups more efficient. With the help of the FSEvents feature, Time Machine can track recent file and settings modifications, so it doesn’t need to scan all files before backing them up, but only those that have changed. APFS-formatted drives can also create lightweight local snapshots that temporarily backup the data until you connect an external drive.
How to Set Up Time Machine on Mac to Meet Your Needs
Connect your external drive to your Mac and confirm it has at least twice as much free space as your Mac’s internal drive, you can set up Time Machine backups. Once your external drive is connected, you are ready to configure for automatic backups, as follows: the instructions below will work for devices with macOS Ventura or later; there is a similar procedure for older versions of macOS.
To set up Mac Time Machine:
- Click on Apple Menu and choose Settings from the drop-down menu that will appear.
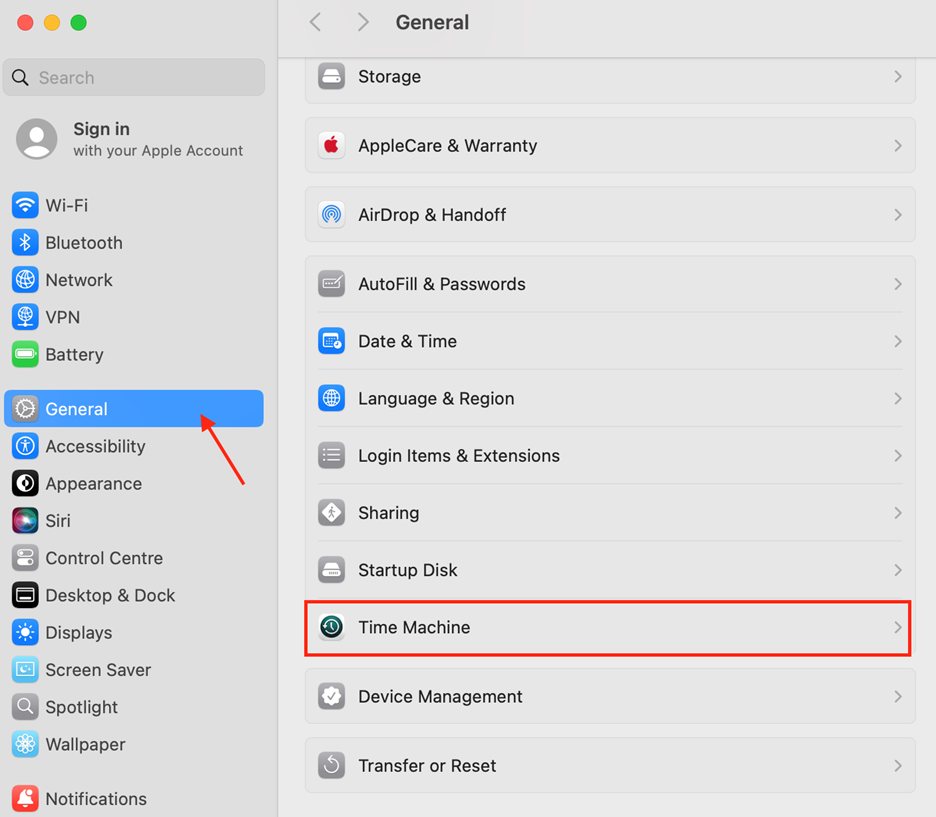
- Click General on the left and scroll down to find Time Machine on the list.
- Hit Add Backup and select the external disk you’ve connected.
- Choose Set Up Disk and click Done to finish setting up Time Machine.
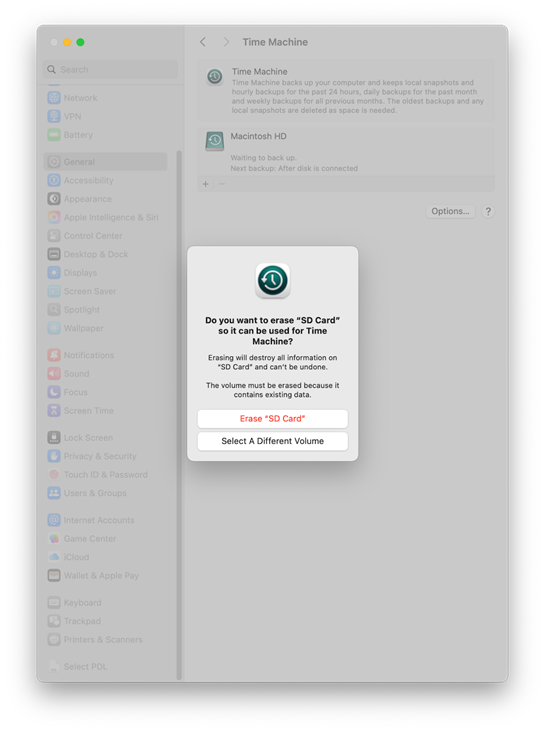
Warning: When initializing Time Machine on a Mac, you are prompted to erase the disk, mainly if the drive isn’t using APFS or HFS+. Doing so erases every bit of your data from the hard disk, so make sure you do not risk erasing anything that you consider important data.
Your Time Machine is set, and it will start its work by performing a complete backup of your system. This step can take a while, but from this point on, Time Machine will create hourly incremental backups that are lightweight and fast to develop.
How to Customize Time Machine Backups
Time Machine is a dynamic tool allowing Mac users to customize its settings and develop a system backup method that meets each user’s preferences. From choosing the time when backups are created to protecting your data with encryption, you can customize Time Machine functions to get the best user experience. Let’s explore some of the available customization options.
You can set up Time Machine to perform the following functions:
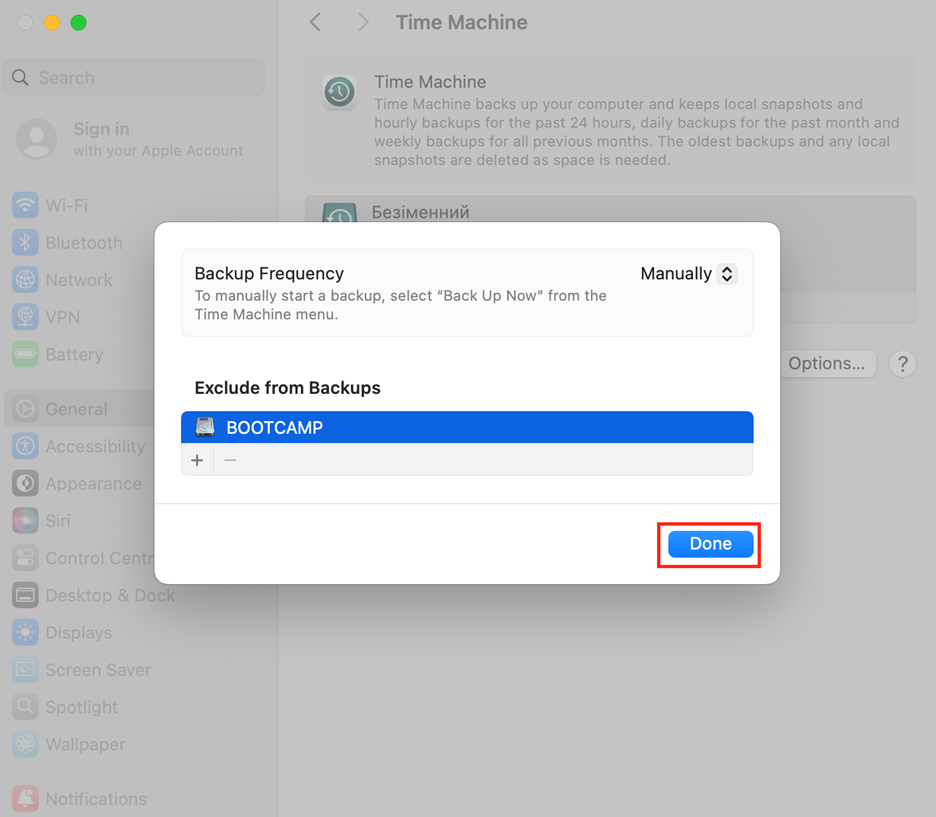
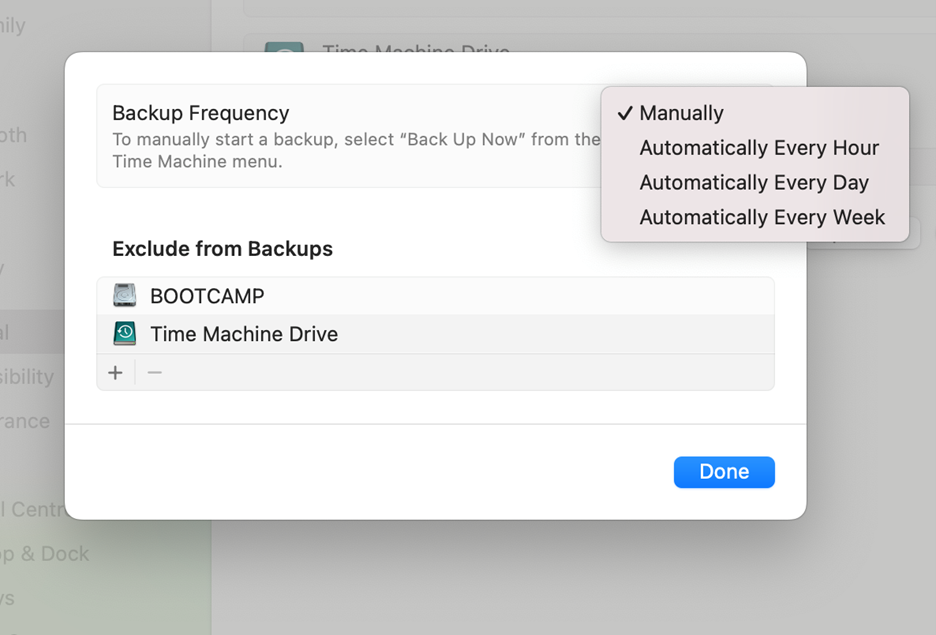
- Exclude files and folders: You can choose the items you want to back up with Time Machine and remove those that shouldn’t be copied by excluding these files and folders in System Settings.
- Choose additional backup disks: Time Machine allows you to back up files to several disks or switch between disks to store the backups.
- Manually adjust when Time Machine runs: Time Machine allows Mac users to change the frequency of backups and set up how often they want to run them.
- Run Time Machine on battery power: As a rule of thumb, Time Machine doesn’t perform backups on a laptop when your device is on battery power. You can change it in Settings > General > Time Machine > Options and select to back up while on battery.
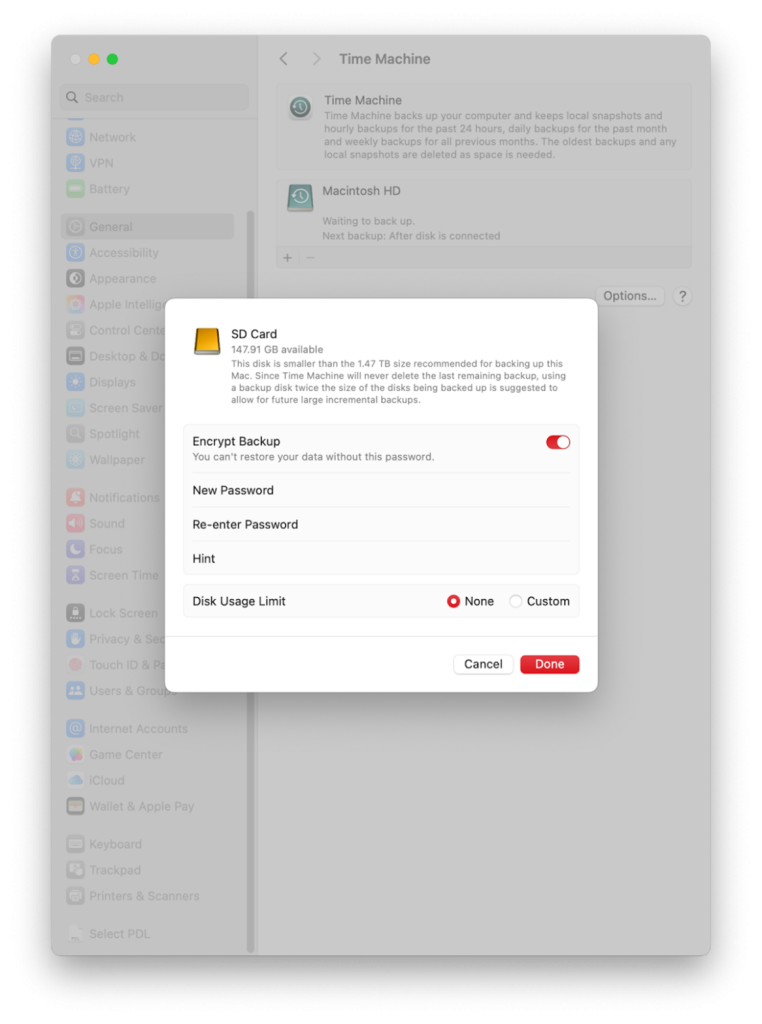
- Encrypt your backups: Users concerned about data safety can secure their files using backup drive encryption. While setting up the backup drive, choose to encrypt backups and set up the password to access the data.
How to Create Time Machine Backups Faster
Since the initial system backup with Time Machine can take hours, optimizing the process can significantly improve your user experience.
To make the first Time Machine backup finish faster:
- Improve the connection speed using a USB-C or Thunderbolt Cable.
- Exclude larger folders or unnecessary files from the system backup.
- Close larger apps if you run any, and reduce system activity.
- Avoid using old or faulty SSDs or Hard Drives.
How to Clear Time Machine Backups
Let’s start by saying that Time Machine clears up old backups automatically, so you typically don’t need to remove old system copies manually. Suppose you want to remove an old backup from your Time Machine. The way to do it will depend on whether you need to erase an individual file or the whole backup drive.
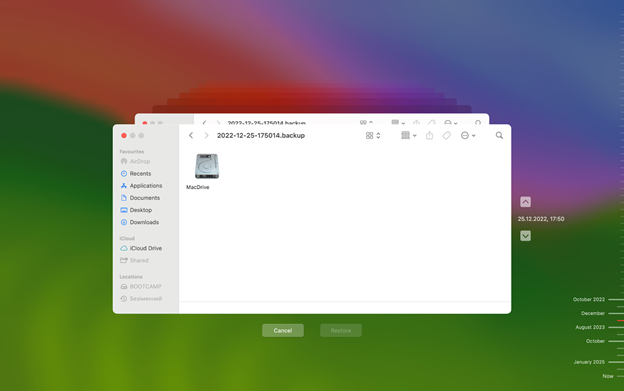
To remove specific files (or dates):
- Connect the backup drive and access Time Machine via Spotlight Search.
- Right-click on the file you want to remove and select Delete All Backups of…
- Enter your admin password when prompted.
To clear the Time Machine drive:
- Open Disk Utility and click on Time Machine to the left of the menu.
- Hit Erase and choose the file system format.
- Click Erase again to delete all backups.
Final Thoughts
Whether to use Time Machine depends on your preference and the need to keep your personal data safe. If you rely on Time Machine backups, you only need an external drive (or many) with sufficient space. The rest of the process is automated and requires little to no interference from your side.
FAQ
Time Machine backs up most of the data stored on your Mac but does not back up all the files to optimize the backup process. Time Machine backups don’t include cache, temporary files, items in the Trash folder, and some app-specific data.
The first Time Machine backup can take several hours, while subsequent ones will be much faster and usually last around 10 minutes.
Time Machine performs automatic backups every hour, day, and week by default, yet users can either start manual backups at any time or configure different backup intervals through external applications.