





A storage warning is never welcome. It usually arrives at the worst moment. An update is blocked, a file cannot be saved, or an app refuses to open. You check the disk, and something odd is noticed: a large chunk of the drive labeled “purgeable.”
That label confuses a lot of people. The space is not free, but it is not really used either. It sits somewhere in between. The good news is simple. Purgeable space can be reduced quickly.
We cover the three workable methods below. All of them are built into macOS. No extra software is required.
In This Blog Post
What is Purgeable Storage on Mac?
Why Should Purgeable Space on Mac Be Cleared?
How Much Purgeable Space is There on Mac?
How to Remove Purgeable Space on Mac
What is Purgeable Storage on Mac?
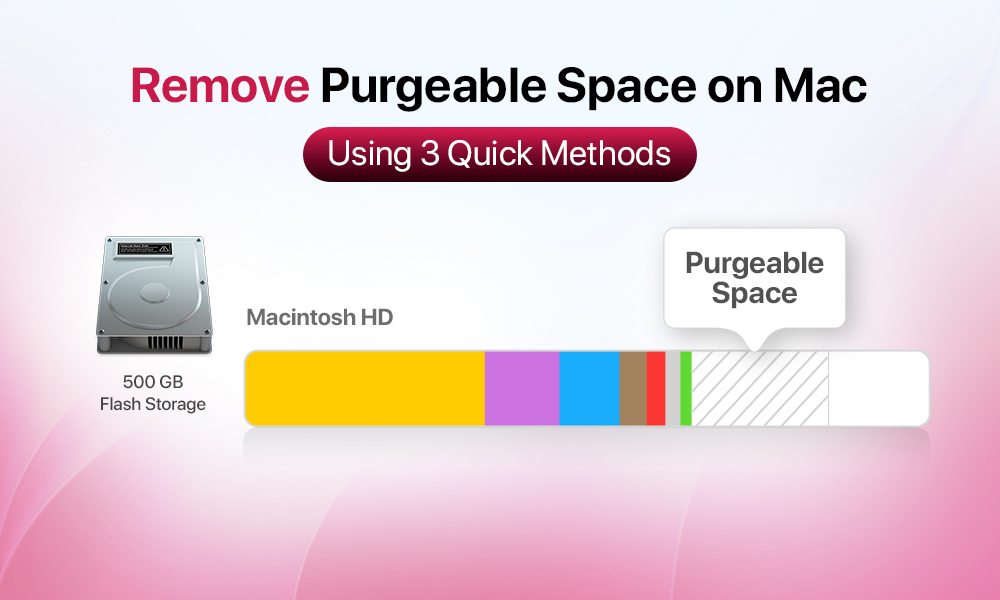
Purgeable space consists of files that macOS has marked as removable. They are still stored on the drive, but they are not treated as essential.
Among such files, you can find:
- Caches
- Temporary files
- Local snapshots created by Time Machine
- Files already uploaded to iCloud
The Optimized Storage feature was introduced in macOS Sierra. The idea behind it is simple. Data that can be regenerated or downloaded again is kept on the disk while room is available. The moment your Mac needs space, it deletes that data automatically.
So think of purgeable space as a buffer. macOS holds it in reserve and releases it on demand.
Why Should Purgeable Space on Mac Be Cleared?
In most cases, it doesn’t need to be cleaned at all. macOS is designed to handle this on its own. When free space runs low, purgeable files are removed in the background.
Still, problems do occur. An installer may refuse to run because the reported free space looks too small. A video editor may complain about a full scratch disk. Backup software may stall. In these situations, the automatic clean-up is not always fast enough.
Clearing the space manually can also be useful before a large download, before a system upgrade, or before a drive is cloned.
How Much Purgeable Space Is There on Mac?
Option 1: Disk Utility (fastest)
- Open Finder.
- Go to Applications > Utilities.
- Double-click Disk Utility.
- Select your drive in the sidebar on the left.
- Read the figures at the top.
- Available space and purgeable space appear side by side.
Option 2: System Settings
- Click the Apple logo in the top-left corner of the screen.
- Click System Settings.
- Click General, then Storage.
- Wait for the colored bar at the top to finish loading.
- Hover over any segment of the bar to see what that category holds.
How to Remove Purgeable Space on Mac
Method 1: Use the storage recommendations
The first method is also the safest. Apple’s own storage tools are used, and nothing is deleted by hand.
Here is how to do it:
- Click the Apple logo in the top-left of the screen.
- Select System Settings.
- Click General, then Storage.
- Work through the listed recommendations one by one.
macOS usually offers several options here:
- Store in iCloud. Move files, photos, and messages to iCloud and keep only recent items on the drive.
- Empty Trash Automatically. Delete items that have sat in the Trash for 30 days.
- Remove watched films and TV shows. Clear Apple TV downloads you have already finished.
- Review large files. Sort your biggest documents and downloads, then delete what you no longer need.
Each category can be expanded with the small “i” button beside it. You will often find old applications, unused documents, and forgotten downloads there. Delete an item, and your Mac reclaims the space immediately.
Most users should start with this method. It takes time, but it behaves predictably and puts nothing important at risk.
Method 2: Restart the Mac
The second method takes about a minute. It is often overlooked, and it works surprisingly well.
A restart clears temporary files. It rebuilds many caches from scratch and discards memory swap files. As a result, purgeable space usually drops straight away.
The steps are short:
- Save any open documents first.
- Click the Apple logo in the top-left of the screen.
- Select Restart.
- Confirm Restart.
Once your Mac boots again, check storage a second time. You should see a noticeable drop.
The effect is temporary, though. macOS rebuilds those caches over the following days. It means the number will creep up again.
Method 3: Clear the cache folder by hand
The third method is manual. It should be used with care, and it should be treated as a last resort.
Cache files are stored in a hidden Library folder.
To access the files:
- Open Finder.
- Click Go in the menu bar.
- Hold down the Option key. Library will appear in the menu.
- Click Library, then open the Caches folder.
- Look through the list of folders.
- Open a folder and delete the files inside it.
- Leave the folder itself in place.
- Skip any system cache whose purpose you do not recognize.
- Empty the Trash.
- Deleted items keep occupying space until you do.
| Warning! Experts generally advise against this route. macOS manages temporary files better than most people do. A restart achieves much of the same result with none of the risk. |
Wrap Up
Purgeable space is not a bug. It is a design choice. Usually, it works quietly in the background. Panic is rarely justified. Handled that way, storage warnings become rare, and the drive is kept in good shape without any extra tools.
FAQs
Not directly. Purgeable space is not a single file. You can’t drag it to the Trash. macOS can only be prompted to release it.
macOS holds on to anything it can recreate later, and that adds up fast. None of it is deleted while free space is plentiful. A large number is normal and does not mean something has gone wrong.
Yes, partly. A restart discards memory swap files and clears many temporary caches. The figure usually drops straight away. The effect is also temporary. macOS rebuilds those caches over the following days, and the number creeps back up.
